
Tutorial transcript
Hey, I’m back here today with another video tutorial, and today I’m gonna show you how I add captions to my video. Content and captions are great for a number of different reasons. Captions give your eyes something to follow. It makes content easier to digest, and depending on the platform that your viewers are watching your video content from, it might be auto playing without the audio on.
So it’s really important that we offer an alternative that allows people to digest the content even without. And a great missed opportunity is branded captions. Often I see the classic white text on black background, but your caption should be an extension of your brand. Use your branded fonts, use your branded color.
I’m gonna show you how I do that all in under 30 seconds, so let’s dive straight into it. As always, my first step is to load up blue in five. This is where I do all of my video editing. Now the assumption here is you’ve already recorded your talking head content or you have a zoom call that’s ready to go.
And once you have that ready to go, just head over to the media. Under the upload section and we’re gonna drag and drop our talking head clip MP file right in here. It might take a couple seconds to upload, but once the video’s ready to go, all I need to do is drag and drop it into a new scene just like this.
The first thing I’ll do is to remove the previous scene. We don’t need that one anymore, and here it is. You’ll see here that LU five has automatically detected that there’s a speaker in this video, and captions were automatically generated by itself. You’ll see on the left hand side that a transcript was automatically generated, and we can actually proofread this and make any edits to make sure there’s no spelling mistakes.
So I noticed that the system generated rights with the W instead of R I G H T, so I double. And I’ll change that to the proper spelling, and my captions will be corrected just like that. I also notice some unnecessary commas, so let’s get rid of that. And here comes the exciting part. I can customize how these captions look.
Just above the transcript, you’ll see some options for fonts and colors. Right now it’s using the classic white text on black box. But let’s change that, let’s say to orange texts on a blue box. I can make the font size larger, but I want them easier to read and let’s make the fonts bold there We. So by simply dragging and dropping my talking head clip into Lumen five, using the automated generated captions, I’ve made a few settings and I already have visually distinguishable branded captions.
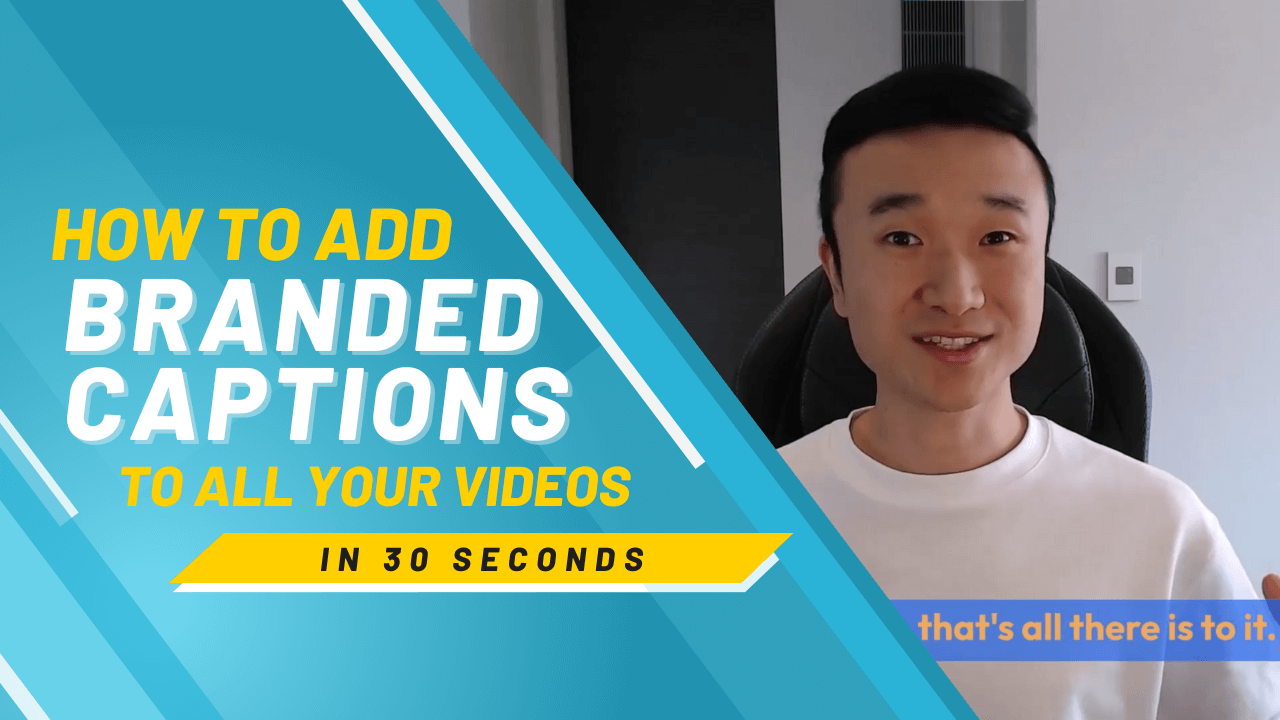
And this video we’re working with here is actually the outro for this video. So let’s wrap up the rest of this video with the captions that we just created together. As you can see, that’s all there is to it. Everything I say now are in these branded captions. It was super easy to do, took me less than 30 seconds, and captions are such a unique branding opportunity to use the right colors to write fonts and bring consistency across all of the videos that you’re sharing.
You can add these to your talking head video content or recorded zoom calls. The possibilities are endless. I’ll leave it at that for today and I’ll see you in the next video.